
I earn a small commission via affilate links at no extra cost to you.
This post is dedicated to the people who want to eat better but don’t know how to cook or don’t like to cook. It’s dedicated to those who know that convenience foods aren’t healthy but they fall back on them because, well, they’re convenient. Eat this easy paleo roast for dinner; use the leftovers for a salad, sandwich, or a wrap tomorrow. Use it to make a stew, shepherd’s pie, or a stroganoff. When I created this recipe I used a slow cooker but an Instant Pot can also be used. Whether you use a slow cooker or Instant Pot it is easy to have real food accessible any time of day.

Buying Beef:
Each shopper values different things so choose the things that matter to you. Here are some of the things that matter to me:
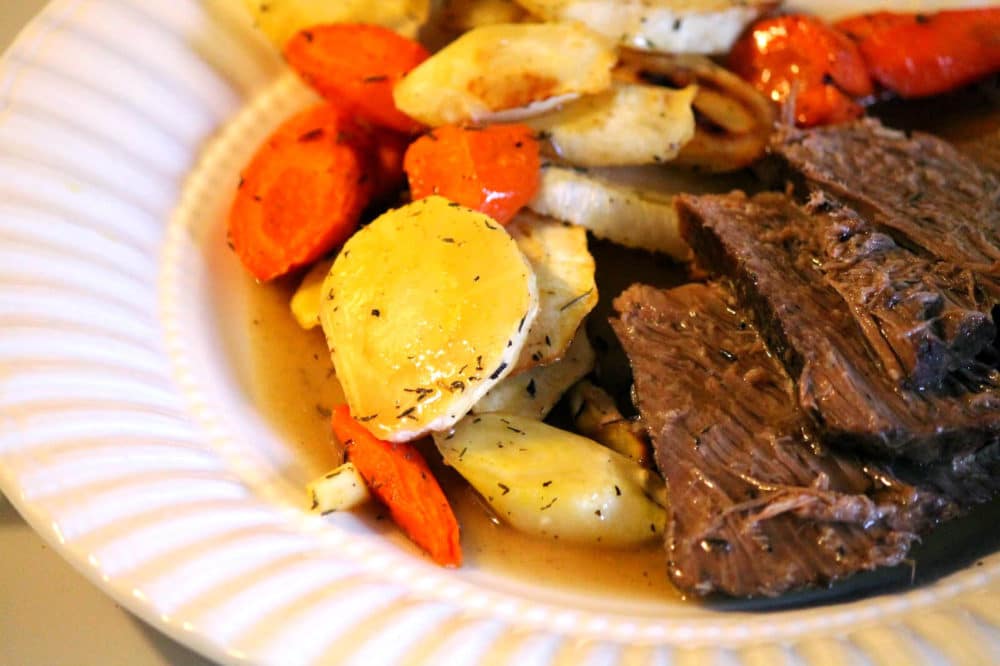
Roasted Root Vegetables
Carrots can be added to the slow cooker to cook with the roast but I opted for roasted vegetables instead. Unless you will use the carrots to thicken the sauce I wouldn’t add them to the slow cooker at the beginning because they will turn to mush. Making roasted vegetables use any root vegetables you like. In this photo I used carrots, parsnips, and a turnip but in the past I’ve added sweet potatoes, onion wedges, yellow beets, rutabagas, kohlrabi, and/or cloves of garlic with the paper on. Whatever combination sounds good to you.
Toss the vegetables with your favorite oil, salt, pepper, and dry thyme. Roast on a sheet tray lined with parchment paper or a silicone mat at 425 F until the vegetables are tender and browned to your liking. Stir the vegetables every 15-20 minutes. Roasting times will vary depending on the size of your vegetables but it will take somewhere around 45-60 minutes.
Cooking the roast
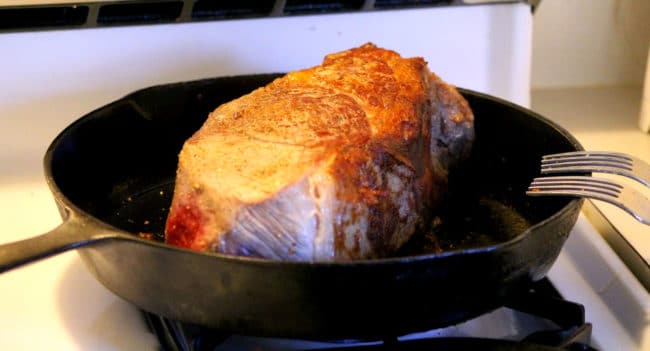
After the roast has browned on all 4 sides place it into the slow cooker and add 2 cups of water to the hot frying pan. Using a spoon or spatula, scrape the brown bits off the bottom of the pan and then add the liquid to the slow cooker with the roast. My favorite part about this step is that you’ve nearly cleaned the pan you just used.

To the slow cooker, add 1 tsp of thyme, 2 cloves of garlic, and 1 bay leaf into the liquid. Turn the slow cooker to low and cover it with the lid. That’s it! I cooked this roast for 7.5 hours and it was difficult to remove because it nearly fell apart, always a good sign. Place the roast on a plate or a cutting board that has a rim for catching juices and cover the roast with foil to let it rest while you make a gravy. Resting is also important before the roast is cut so that the juices have time to redistribute. If you cut it right out of the pot it will be dry.
Making Gravy:
2 tsp arrowroot powder
2 cups of broth from the slow cooker*
salt and pepper to taste
* Optional: After removing the bay leaf I used an immersion blender to homogenize the broth with the garlic.
In a sauce pot on the stove bring the broth to a gentle boil. Dissolve the arrowroot in a tablespoon or so of cold water. It will clump and not dissolve if added to hot liquid. Slowly add the arrowroot while stirring the gravy and remember that its full thickening potential won’t occur until the gravy boils. As you can see this ratio doesn’t make a very thick gravy so if you like yours thicker add another teaspoon of arrowroot. I prefer arrowroot to corn starch because I know it is not GMO and it is paleo whereas corn is not.
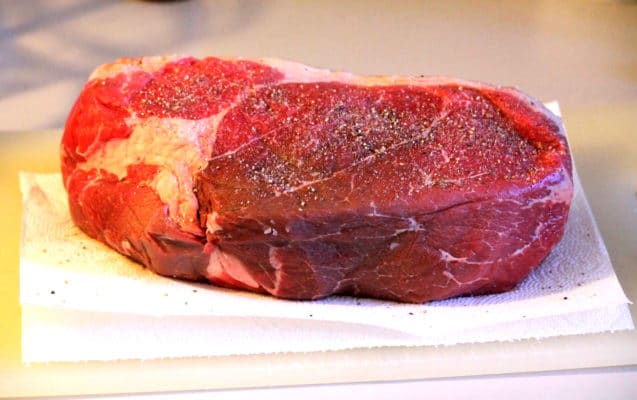
- 3 lbs chuck roast
- 1.5 tsp salt
- pepper (omit for AIP)
- 2 cups water
- 1 tsp dry thyme
- 1 bay leaf
- 2 cloves garlic crushed
- 2 tsp arrowroot (omit for Whole 30)*
-
Brown the side of the roast with the thickest layer of fat first in a pre-heated pan over medium/medium-high heat. Brown all sides of the roast in a skillet or an Instant Pot on the saute setting.
-
(Instant Pot): Add 2 cups of water to the Instant Pot and scrape up the brown bits on the bottom.
(Slow Cooker): Transfer the roast to a slow cooker and add 2 cups of water to the saute pan. Scrape up the brown bits and then pour the liquid over the roast in the slow cooker.
-
Add 1 tsp of thyme, 2 cloves of garlic, and 1 bay leaf to the liquid.
-
(Instant Pot): Cook the roast with the slow cooker setting and then adjust to high, medium, or low depending on the length of time you want it to cook. High for 4 hours, low for 7-8 hours. Alternately the pressure setting can be used for 1 hour.
(Slow Cooker): Set the slow cooker on high for a 4 hour cook time and low for a 7-8 hour cook time.
-
While the roast is resting on a platter transfer the juices to a pot on the stove. In a separate dish dissolve arrowroot with a bit of cold water and then add it to thicken the juices. When the liquid boils you will know how thick it is. Adjust the thickness and seasoning to suit your taste.
-
*(Whole 30 Tweak) Add carrots, onions, and celery to the cooking liquid and puree them with the liquid at the end to thicken the sauce.
Originally posted on February 27, 2017 @ 20:20